Fix “iTunes Cannot Read the Contents of the iPhone” Safely
Use current Apple cable, trust, software, backup, Recovery Mode, and Restore guidance without deleting hidden databases or promising no data loss.
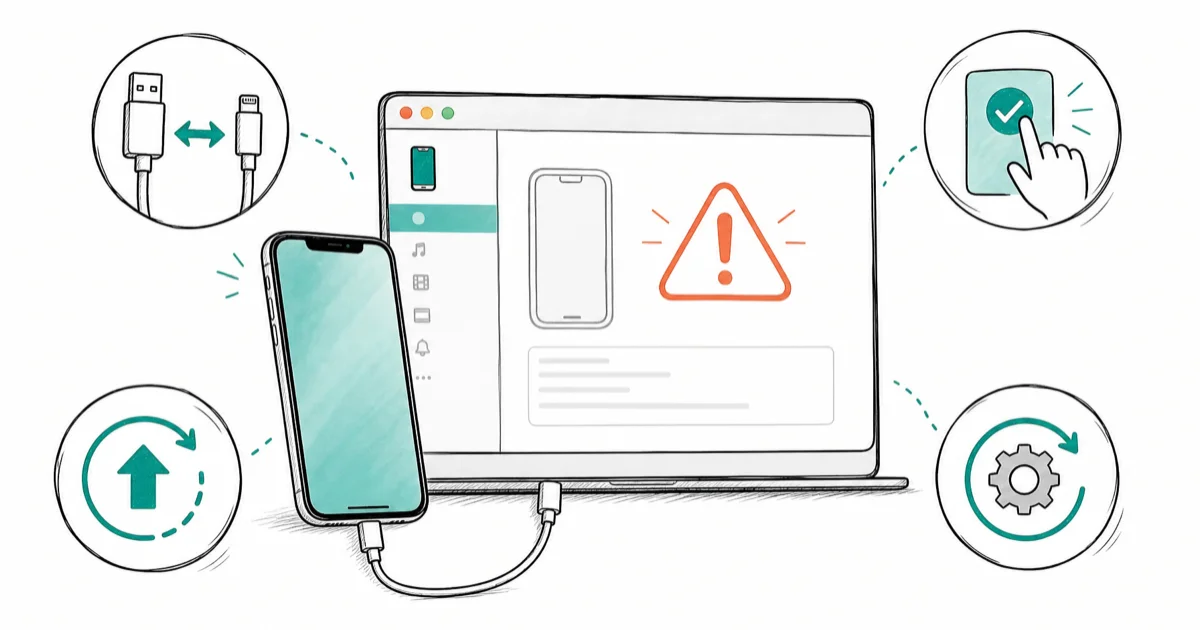
Quick AnswerReconnect with a data-capable cable, unlock the iPhone, and tap Trust. Update the computer app; reset Location & Privacy only to restore the prompt.
The legacy iTunes contents error can also surface in Finder on a Mac or Apple Devices on Windows. Treat it first as a cable, trust, software, or device-recognition issue—not proof that hidden iPhone databases are corrupt.
Start with reversible checks. Don’t use a third-party file browser to delete iTunesCDB, iTunesControl, iTunesPrefs, or another internal file. Apple doesn’t document that cleanup as a safe fix, and deleting device databases can put data at risk.
- Use Finder on current macOS, Apple Devices on current Windows, or iTunes only where it’s still the supported app
- Unlock the iPhone and respond to the Trust This Computer prompt
- A cable must support data as well as charging
- Reset Location & Privacy only when you need the trust prompt again; it resets more than one computer record
- Recovery Mode is not the first response to a readable-content error, and Restore erases all information and settings
#1. Which App Should You Use on the Computer?
According to Apple’s current device-recognition article, current Mac users should use Finder and Windows users should use Apple Devices or iTunes, depending on what’s installed and supported.
Open the app before reconnecting the iPhone:
- Mac with current macOS: open Finder and look under Locations.
- Windows: open Apple Devices; use iTunes only if your setup still relies on it.
- Older Mac that still supports iTunes: open iTunes.
If the iPhone appears but one app reports that it can’t read the contents, don’t jump straight to Restore. Work through the connection and trust checks first. The iPhone-won’t-restore guide covers a different failure after an update or restore attempt has actually started.
#2. Unlock the iPhone and Tap Trust
Connect the iPhone, unlock its screen, and look for Trust This Computer? Tap Trust, then enter the device passcode if prompted.
Apple’s current Trust This Computer article explains that a trusted computer can sync with the device and access photos, videos, contacts, and other content. Approve only a computer you own or control.
If no prompt appears, disconnect the cable, unlock the iPhone, reconnect it, and keep the screen awake while the computer app is open. If the computer belongs to someone else or is public, tap Don’t Trust and don’t continue.
Trust doesn’t bypass the passcode. If you can’t unlock the iPhone, use the recovery guidance for a forgotten passcode rather than repeatedly approving computers.
#3. Check the Cable, Port, and Connection
A cable can charge an iPhone without carrying usable data. Apple’s recognition checklist says the cable must support both data and charging.
Try these reversible checks:
- Disconnect hubs, docks, adapters, and unnecessary USB devices.
- Connect the iPhone directly to another USB port on the computer.
- Try another known-good data-capable cable.
- Inspect the iPhone connector for debris without inserting metal or applying liquid.
- Restart the iPhone and computer, then reconnect after both are ready.
Don’t state that a damaged cable is the most common cause without evidence from that device. A successful charge alone doesn’t prove the data connection works.
#4. Update the Computer and Apple Software
Install available macOS or Windows updates and update Apple Devices or iTunes through its supported distribution channel. Apple’s recognition article also recommends checking software and driver updates when a computer does not recognize an iPhone.
On Windows, close Apple Devices and iTunes before applying updates, then restart Windows. Avoid downloading an unofficial Apple driver bundle from a third-party site.
On a Mac, Finder is part of macOS and updates with the operating system. Reinstalling an old iTunes package is not the correct fix on a current macOS release.
Update the iPhone from Settings > General > Software Update only if the device works normally away from the computer and you have a usable backup. A connection error does not prove that the current iOS installation is corrupt.
#5. How Do You Reset the Trust Prompt?
If you previously tapped Don’t Trust, or the prompt no longer appears, Apple’s trust-settings article gives this current iPhone path:
- Open
Settings>General. - Tap Transfer or Reset iPhone.
- Tap Reset.
- Tap Reset Location & Privacy.
- Reconnect to the known computer, unlock the iPhone, and tap Trust.
This resets location and privacy settings, not just one stale computer certificate. Apps can ask again for location, camera, microphone, and other permissions afterward. Read the confirmation screen before proceeding.
Don’t choose Reset Network Settings merely to recreate the trust prompt. Network reset has a different scope and can remove saved network configuration without addressing a USB trust decision.
#6. Does the Computer Recognize Another iPhone?
The next split helps avoid destructive guesses:
- If the computer recognizes another iPhone with the same cable and port, focus on the affected iPhone’s connector, trust state, and software.
- If it recognizes no iPhone, focus on the cable, USB port, computer software, and Windows driver path.
- If the affected iPhone works on another trusted computer, the first computer’s software or USB path needs attention.
Don’t sign into a stranger’s computer or approve Trust only for testing. Use a computer you control and remove sensitive backups when finished.
If the iPhone never appears in Finder, Apple Devices, iTunes, System Information, or Windows device management after known-good connection checks, Apple says service may be needed.
#7. Back Up Before Any Destructive Step
If the iPhone is usable and can back up through iCloud, Apple’s backup overview explains the difference between iCloud and computer backups. Create or verify a usable backup before considering Recovery Mode or Restore.
An iPhone that the computer can’t read may also be unable to make a new computer backup. Don’t claim that a backup succeeded merely because the device appears in Finder or iTunes; verify the backup date and location.
If important data exists only on the affected phone and no backup can be verified, stop before Restore. Apple Support or an authorized service provider can help assess the connection, but no supported procedure guarantees recovery of unsynced data from a failing device. Read what Restore means before making that choice.
#8. Use Recovery Mode Only for the Conditions Apple Covers
Apple’s current Recovery Mode article states that it covers situations such as a computer not recognizing the device, a screen stuck on the Apple logo without a progress bar, or a Connect to computer screen. A single “can’t read contents” message doesn’t by itself prove that Recovery Mode is required. Use the Recovery Mode guide only when those conditions fit.
If the iPhone also meets Apple’s Recovery Mode conditions, connect it to the computer and use the model-specific button sequence on that page. When Finder, Apple Devices, or iTunes offers Update or Restore, choose Update first when it’s available and appropriate. A static logo has a separate Apple-logo decision path.
Update attempts to reinstall compatible iOS while keeping personal data, but it isn’t a data-loss guarantee. If the software download finishes after the iPhone exits the Connect to computer screen, Apple’s page recommends repeating the Recovery Mode sequence.
Don’t use an obsolete Apple Support ID or a fixed button-hold time as a universal instruction. Follow the sequence for the exact model and release the button only at the screen Apple specifies. A named computer error such as 4013 belongs in its specific error guide.
#9. Understand What Restore Deletes
According to Apple’s current computer-restore article, Restore erases the iPhone’s information and settings and installs the latest compatible iOS version.
Before selecting Restore:
- verify a backup you can actually use
- confirm the Apple Account credentials needed after erase
- understand that unsynced data on the iPhone won’t be preserved by the restore
- separate an Update attempt from the destructive Restore choice
Don’t describe Recovery Mode itself as the erasing action. The destructive boundary is selecting and confirming Restore.
#10. Don’t Delete Internal iTunes Databases
Older troubleshooting posts recommend installing iFunBox or another file browser and deleting files named iTunesCDB, iTunesControl, or iTunesPrefs. This article no longer recommends that procedure.
Apple’s current connection, trust, backup, Recovery Mode, and Restore documentation does not instruct consumers to delete those hidden databases. A third-party app’s ability to display a file is not evidence that deletion is safe or that the file caused the error.
Likewise, don’t accept a “repair without data loss” promise unless the vendor identifies the exact operation, independent evidence supports it, and you already have a usable backup. A branded repair button can’t override Apple’s Restore boundary.
#11. When to Request Service
Contact Apple or an authorized service provider if:
- the iPhone is not recognized on more than one known-good computer, cable, and port
- the connector is damaged or liquid exposure is possible
- Update fails with a named error
- the device repeatedly returns to the Connect to computer screen
- the phone contains important unsynced data and Restore is the only offered action
Record the exact message and any error number. A specific code is more useful than assuming “database corruption” from a generic contents error.
#Bottom Line
Use the current computer app, unlock the iPhone, approve Trust, and test a data-capable cable and direct USB port. Update the computer and Apple software, then reset Location & Privacy only if you need the trust prompt again. Don’t delete hidden iTunes databases. Recovery Mode belongs to Apple’s defined recovery conditions, and Restore erases the iPhone.
#Frequently Asked Questions
Does the error prove my iPhone database is corrupt?
No. The message alone does not identify a corrupted iTunesCDB, iTunesControl, or iTunesPrefs file. Start with Apple’s cable, trust, software, and recognition checks.
Why does my iPhone charge but not appear in Finder or iTunes?
Charging does not prove the cable carries data. Apple requires a cable that supports both data and charging, plus a working USB port and trusted connection.
Will Reset Location & Privacy delete photos?
It does not erase photos, but it resets privacy and location decisions. Apps can ask for those permissions again.
Should I also reset network settings?
Not merely to restore a USB trust prompt. Apple’s Trust This Computer guidance points to Reset Location & Privacy; network reset has a different and broader network scope.
Will Recovery Mode erase the iPhone?
Entering Recovery Mode is not the same as erasing it. Selecting Restore in the computer app erases information and settings. Update attempts a reinstall without that intended erase but is not a guarantee.
Can I delete iTunesCDB with iFunBox safely?
Apple’s current consumer guidance doesn’t support that procedure. Don’t delete hidden device databases as a generic fix.
Can I make a backup after this error appears?
Possibly, if iCloud backup works or the computer can still complete a verified backup. Check the backup’s date and location before relying on it.
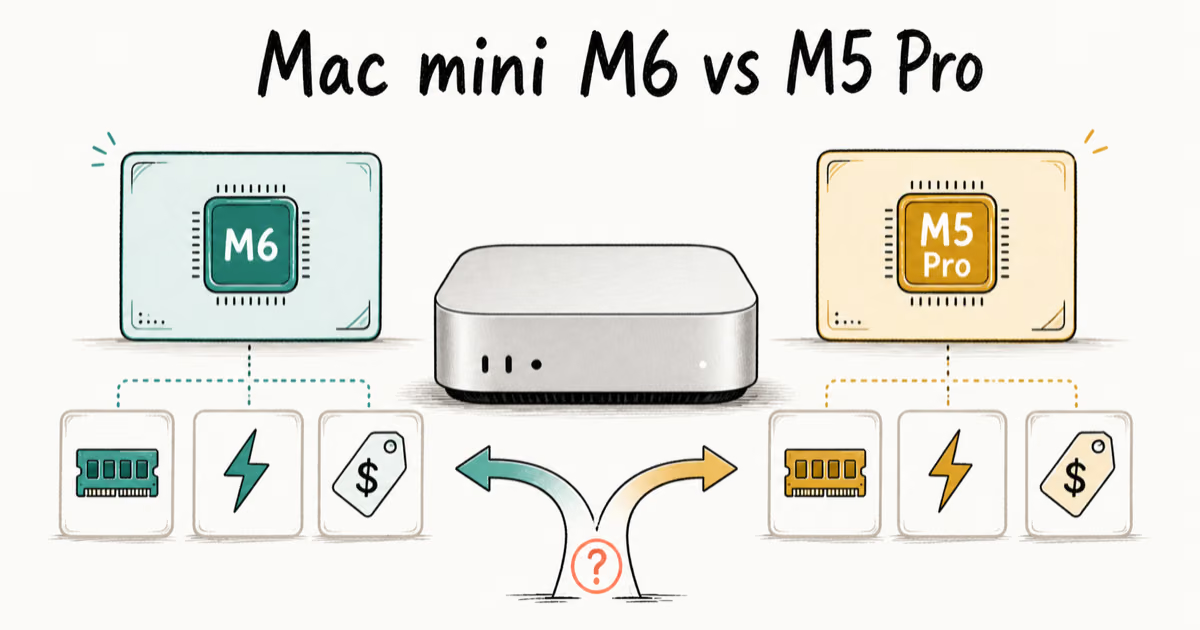
Mac mini M6 vs M5 Pro: Which Model Should You Buy?
Mac mini M6 vs M5 Pro compared on price, memory, ports, displays, and real workloads. Find the better 2026 Mac mini for your desk and budget.
Apple Siri Settlement: Who Qualifies and How to Claim
Apple's $250 million Siri settlement covers iPhone 15 Pro and iPhone 16 models bought June 2024 to March 2025. See who qualifies and how claims work.
iOS 26.6.1 Security Update: What Apple Fixed and Who Gets It
Apple released iOS 26.6.1 on August 17 with 29 security fixes, including an IPSec interception bug. See what it patches, who gets it, and how to update.
iPhone Adaptive Power: How It Works and When to Use It
Learn how iPhone Adaptive Power works, which models support it, what it changes, and when Low Power Mode is still the better battery-saving choice.